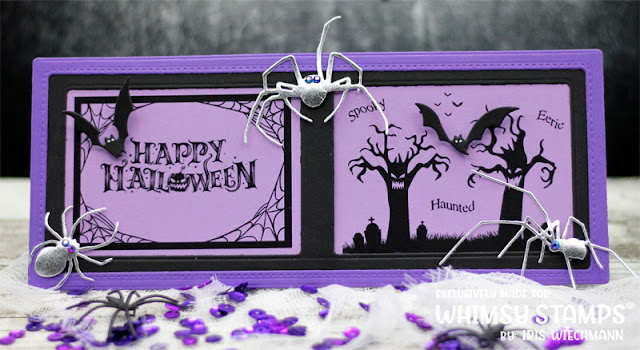
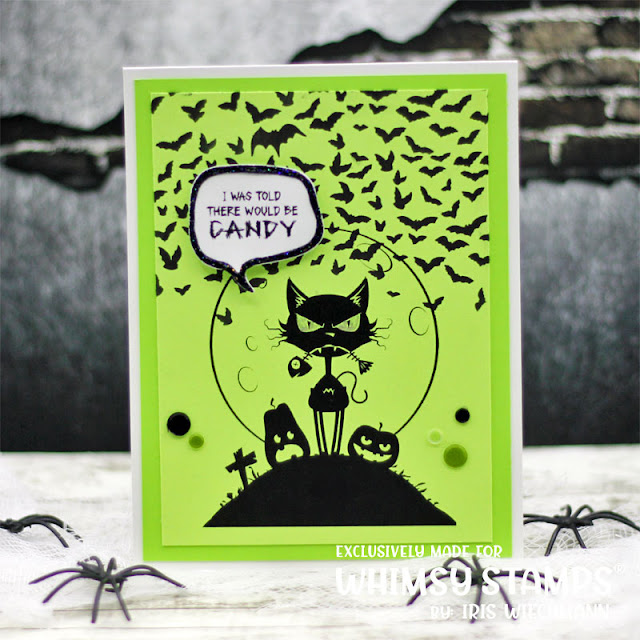
Slimline Toner Card Fronts - Terror 1
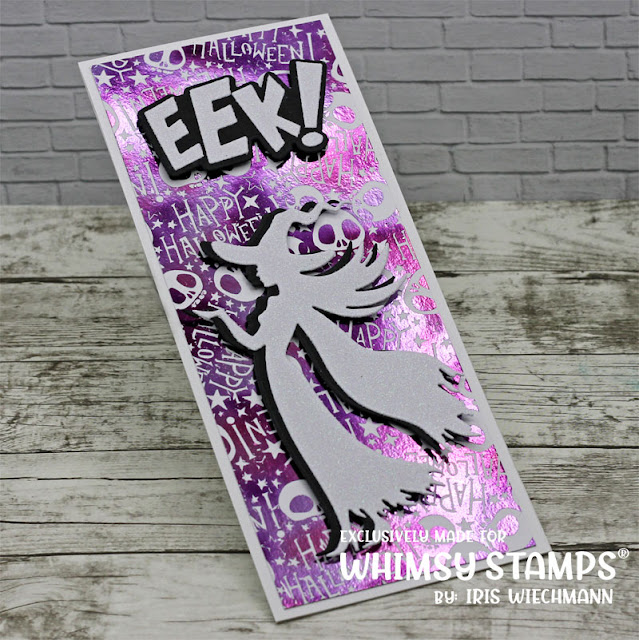
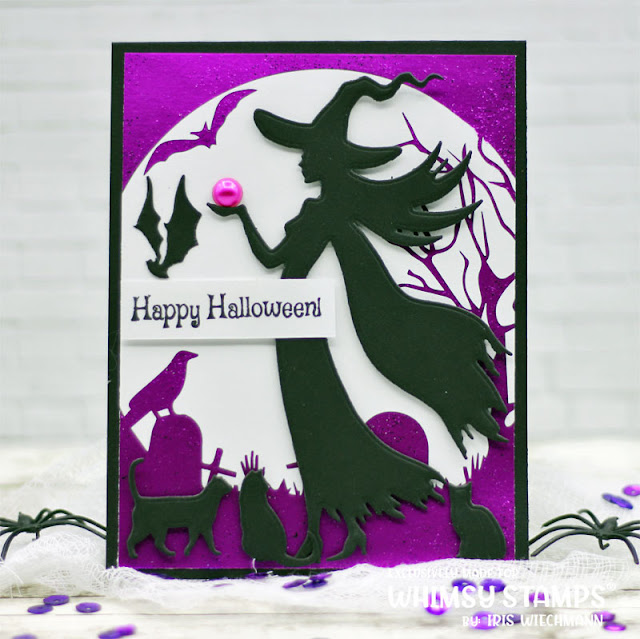
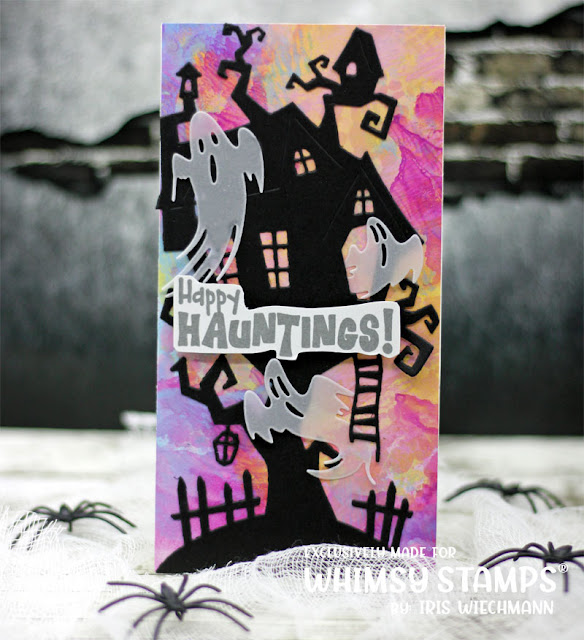
Hello again! Here are my last two creations for this month. Two more Slimline Halloween cards and this time I am using the awesome NEW Slimline Toner Card Fronts - Terror 1. I love the toner card fronts. You can easily and quick create stunning effects with toner reactive foil and a laminator. On the first card I used the toner card front together with the Amethyst Watercolor toner reactive foil from ThermoWeb. What a stunning effect this gives to my card. I combined it with the Witch Whispers and EEK word and shadow die sets which I cut from black and white glitter cardstock. My second card uses the toner card front together with a Lime Satin foil sheet. All links to Whimsy products used can be found below. Thanks for stopping by! Hugs,