Showing posts with label Marina Fedotova. Show all posts

July 27, 2018

Starfish Wishes

Happy Weekend! I am back today with an ocean themed card. The main image is Naia the Mermaid from Whimsy Stamps. I had this image colored for a while and never came around making it into a card. So today I was browsing YouTube a bit and came across a video from Vicky where she made an art journal page with an ocean / underwater background.  I cased her technique of the background for my card:


I added some distress stain (dauber bottle) to a white card panel (I used mixed media paper), let it dry and used the Whimsy Waves Stencil to sponge on some waves with distress ink. After all the ink was dry I added some white splatters with picket fence distress paint. Using a white, super fine Sharpie poster pen I drew some bubbles and added 3D glaze to make them stand out more. I then stamped the castle from the Salty Hair clear set with Versamark ink and gold embossed the castle. The sentiment is from the same set as are the seashells and starfish stamps I used. Naia the Mermaid was colored with Copics - see a list of Copics used below.

I've added some Nuvo glitter drops to her tail to mimic scales. Here is a close-up on that:


Copics:
Skin: E000, 00, 11, 21, 04
Hair: YR04, 07, E09, 18
Green: YG03, 21, 17, 67
Violet: V01, 04, 06, 09


Whimsy products used:


Naia the Mermaid   *NEW Salty Hair   Making Waves Stencil   Gold Embossing Powder   VersaMark Full-Size Ink Pad - Original (Clear)    Copic Sketch Markers Cadmium Red [Pack Of 3] (3PK-R27S)     Memento Full-Size Ink Pad - Tuxedo Black    Glossy Accents

   Sequin Bag - Shine   Sequin Bag - Greyscale   


Distress Ink - Mini Ink Pad Kit 1Sequin Tin - Party Time


Thanks for taking the time and visiting me here today!


Hugs,

July 15, 2018

Hello Fairy

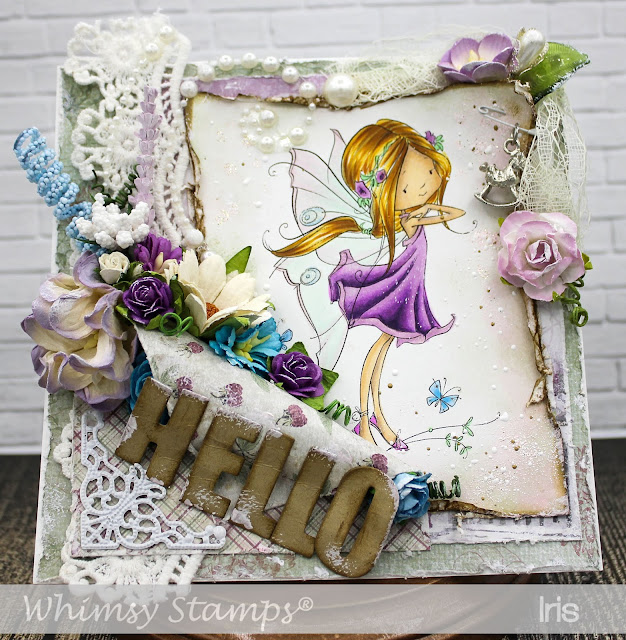
Hello All! It's shabby-chic Sunday today - here is a card I made using Faye the Fairy from Whimsy Stamps' Marina Fedotova collection


I've neglected the shabby chic style quite a bit recently and was drawn more to the modern CAS look. I still am I have to admit but inbetween I really enjoy going back to my old style especially with these adorable fairy images <3

I colored the image with Copics. The sentiment was cut out using the NEW Bold ABC dies. I just love these letter dies. They are also perfect for shaker cards. Very versatile ABC die set.
Here is a closer look on the ABC dies:


I also used double sided vintage looking paper from my stash (I think it's from Maja Design, but not sure). Love double sided paper if you want to fold it over or have some cut-open effects where you can see the back of the paper. On my card here I folded over one corner and decorated it with flowers. It looks like the flowers are growing out of the paper. Love this effect:


Copic colors used:

Skin: E30, 50, 53 70
Dress: V01, 5, 6, 9, 12
Hair: Y21, YR24, 27, W4
Wings: G0000, V000
Butterflies: B0000, 02
Flowers: V01, 12, YG41


Whimsy Products used:

*NEW Faye the Fairy   *NEW Bold ABC Die Set   Copic Sketch Markers Cadmium Red [Pack Of 3] (3PK-R27S)       Distress Ink - Mini Ink Pad Kit 3   Ink Blending Tool   Opaque Matte Finish Texture Paste


Thanks for visiting my blog today!

Hugs,


May 4, 2018

Whimsy May 2018 Release - Day 4

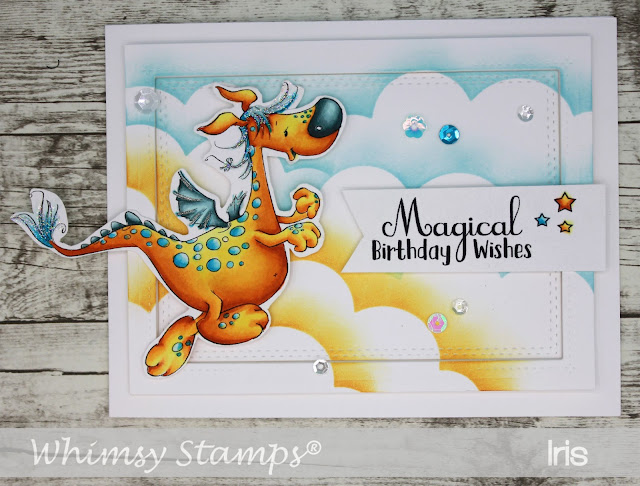
It's Day 4 of the Whimsy Stamps May 2018 Release. Today I have the super cute NEW Norbert and Fiona Playtime stamp to showcase. For my card I only used the dragon image and a sentiment from the set. Isn't he so cute? I love dragons as much as I love mermaids! The window is made with the NEW Card Builder Windows die set.


To achieve the cloudy background I used the Cloud Edger Die and a blank mylar sheet to make my own stencil. Then I used my newly created stencil with blue and orange Distress inks and sponged the clouds onto the white die cut window (background piece and the frame) Image was colored with Copics. The sentiment (included in the set) and some sequins finish off my card.


Copics used:

Orange: YR18, YR16, YR15, Y35, Y13, Y11
Turquoise: BG000, BG01, BG02, BG05
Teal: BG72, BG75, BG78


Whimsy products used:


*NEW Card Builder Windows Die Set   *NEW Norbert and Fiona Playtime   Memento Full-Size Ink Pad - Tuxedo Black    Copic Sketch Markers Cadmium Red [Pack Of 3] (3PK-R27S)  Distress Ink - Mini Ink Pad Kit 2    Distress Ink - Mini Ink Pad Kit 1    Stickles Glitter Glue - Star Dust    *NEW Grass and Cloud Edger Die Set    Morning Glow Sequin Pack   Magical Adventure Sequin Pack   DIY Stencil Sheets   VersaFine CLAIR Ink Pad - Nocturne (black) 


Thanks for stopping by

Hugs,


March 26, 2018

Hello Spring Fairy

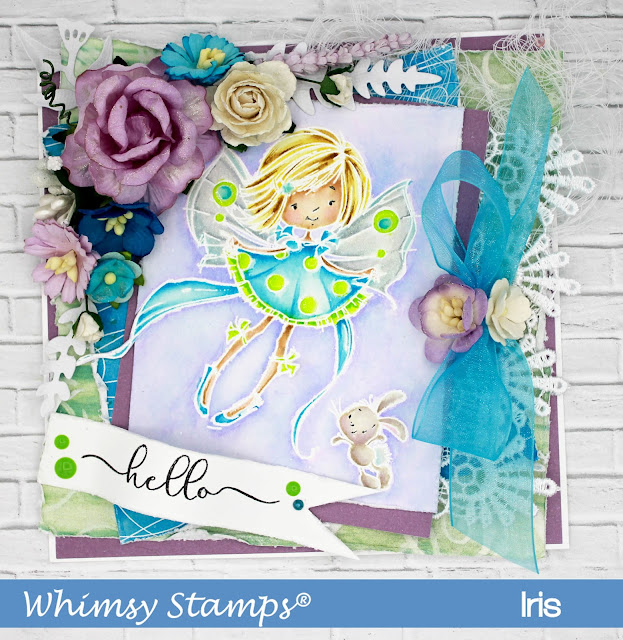
Hi Everybody! For quite a long time I haven't made a shabby chic style card. So it was real fun again to dive into my flowers, lace and ribbon for a change......and this is what I came up with:


I water colored NEW Spring Fairy with my distress inks. I opted for giving her white outlines for a change. I stamped with VersaMark ink onto Strathmore 400 Mixed Media paper and white heat embossed the image. See list of Distress inks used below.

The papers I used are digital papers from Whimsy Stamps Crissy Armstrong digital collection - Flourishing Blooms. I decorated the card with flowers lace and ribbon from my stash. The white die cut leaves are from Whimsy's Shapeology collection called Leaf Foliage 2 by Crissy Armstrong.
The sentiment is from the newly released 'Fly by' clear stamp set. Love this set. It's so versatile and can be used on all different style cards.

On the wings I used a lot of Wink of Stella clear shimmer. Unfortunately it is hard to capture in the photo. I also added Nuvo crystal clear glaze to the dots on the dress and wings for some extra shine.


Distress ink colors used:


Antique Linen
Scattered Straw
Tattered Rose
Tea Dye
Spun Sugar
Weathered Wood
Iced Spruce
Pumice Stone
Shaded Lilac
Mermaid Lagoon
Twisted Citron


Whimsy products:


*NEW Spring Fairy   Leaf Foliage 2 Die Set  *NEW Fly By   Flourishing Blooms - Digital Papers VersaMark Full-Size Ink Pad - Original (Clear)     White Embossing Powder      Distress Ink - Mini Ink Pad Kit 3   Distress Ink - Mini Ink Pad Kit 1   Distress Ink - Mini Ink Pad Kit 2    *NEW It's a Party Enamel Dots


Thanks for stopping by

Hugs,

January 2, 2018

Whimsy January Release - Day 2


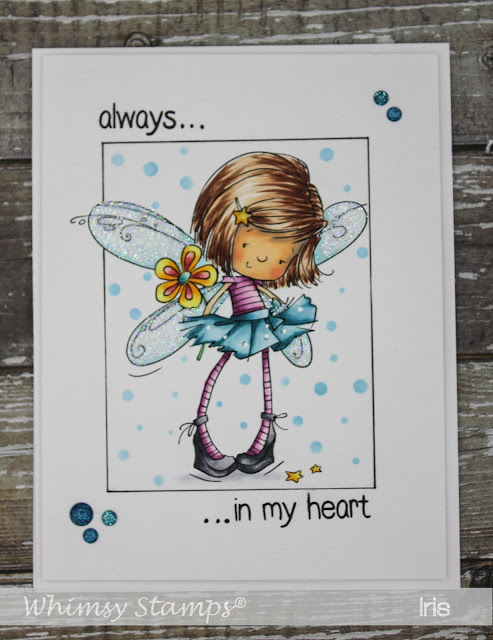
Hello Everyone and Welcome to Day 2 of Whimsy's January Release Week. Today I have yet again another CAS style card using the new rubber stamp 'Flower Fairy' by Marina Fedotova.


I colored her using Copics. I drew a frame around the image and the background dots were
stenciled using the new Polka Dots Stencil. I used my Distress ink pad Tumbled Glass and a
finger sponge dauber to stencil the dots. To add some glitz to the image I applied Stickles to her
wings. Sentiment is from the new 'You're my always' sentiment set and the glitter dots are
from the Winter Wishes Enamel Dots


All products are available in the store now!


Here are the products I used on my card:

*NEW Flower Fairy   *NEW You're My Always   

*NEW Polka Dot Stencil      Winter Wishes Enamel Dots