April 28, 2021
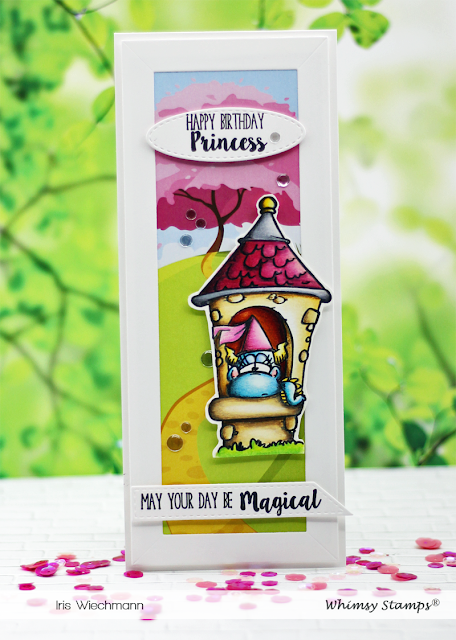
Happy Birthday Princess!
April 27, 2021
Partial Embossing Tutorial
Hello Friends I am on the Whimsy blog today with a tutorial on partial embossing. If you are interested and want to know how I created this card please visit my post on the Whimsy blog here.
There I will be showing you a partial embossing technique using our NEW Slimline Embossing Folder Thatched with a self-made embossing frame using the Slimeline Marquee Die.
Whimsy stamps products used:
April 24, 2021
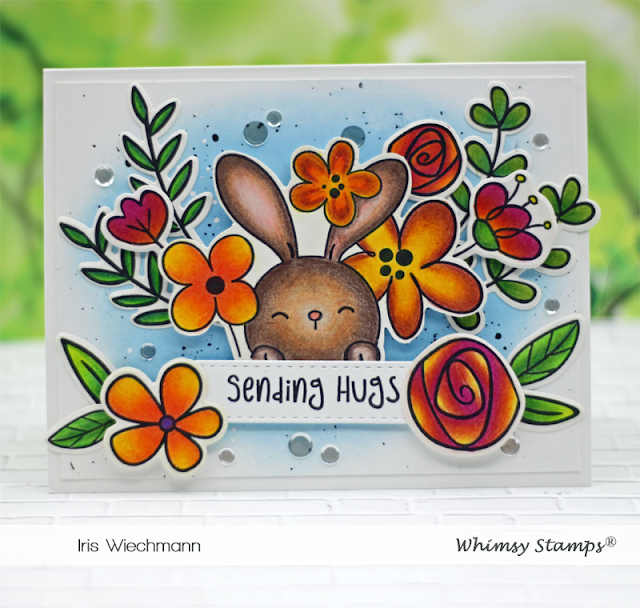
Sending Hugs!
Hey There! Here is a Springtime card I made using the NEW Sending Sunshine clear stamp set in combination with the previously released Beaucoup Bouquet clear stamp set and Quick Strip die set. I think these are a perfect match!
The images were stamped with Versafine Clair Nocturn ink onto Bristol smooth cardstock. I colored using Chromaflow pencils from Derwent. Love these soft smooth pencils. To create the background I sponged light blue ink onto Bristol smooth cardstock and and added white and black paint sprinkles.
Whimsy products used:
April 20, 2021
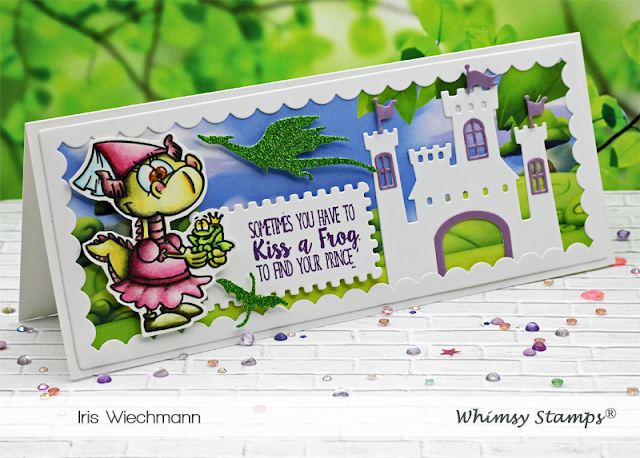
Whimsy Stamps 3rd Monthly Mini Release - Kiss a Frog
Hey Friends! If you are a regular here on my blog you know that it's time today to share some more NEW Whimsy fun. The 20th of each month marks the 3rd monthly mini release.
It looks a lot like magic. We have super duper cute dragon stamps - Princess Dragon by Dustin Pike is one of them - and a fabulous Build a Castle die set by Deb Davis among other fabulous products. Together with the Enchanted Kingdom paper pack it makes for fantastically magical cards.
The image was stamped onto Harmony hot press water color paper from Hahnemühle using Versafine Clair Nocturn ink. I colored it with my F.C. Albrecht Dürer watercolor pencils and fussy cut it.
I started creating my card by using a sheet of the new Enchanted Kingdom Slimline Papers and the die cut frame from the Slimline Birthday Scallops die. I then die cut the castle from white and purple shimmer cardstock using the Build a Castle die set. The dragons where cut from green glitter cardstock. To match my color scheme I stamped the sentiment - that is included with the Princess Dragon clear stamp set - with Versafine Clair Chianti ink. I die cut the sentiment with the second smallest die from the Extreme Postage die set. which I think complements the Build a Castle die set perfectly. I then adhered everything with liquid glue and foam tape to a horizontal top fold slimline card base.
Here is the link list for all Whimsy products I've used:
April 16, 2021
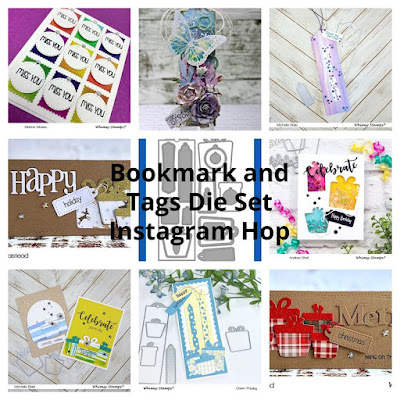
Bookmark and Tags Die Set Instagram Hop - Vintage Mixed Media Tag
Hey Whimsy Fans! Some of the Whimsy Stamps Creative Team are doing an Insta-Hop bringing you inspiration using the amazing Bookmark and Tags die set. This die collection has 17 dies and is perfect to create bookmarks and tags of all shapes and sizes.
Be sure to visit my Instagram account here for all the details on how you can hop along and have a chance of winning a $25 gift certificate to Whimsy Stamps.
For my project I decided to make a shabby chic mixed media tag. In addition to the Bookmark and Tag die set I also used these Whimsy products:
Flight of the Butterflies stamp set, Butterflies stamp set, Twinkle stencil, Connected Bubbles die, Poppy Flower die, Floral Impressions papers.
Flight of the Butterflies stamp set, Butterflies stamp set, Twinkle stencil, Connected Bubbles die, Poppy Flower die, Floral Impressions papers.
Here is how I created my tag:
I started out by cutting the large tag from the Bookmark and Tag die set 4 times from heavy weight watercolor paper (I used Canson XL cold press), layered and adhered them on top of each other.
Then I cut the large tag once from the Floral Impressions papers. As the sheets are not big enough to fit the whole tag I cut two parts and glued both as top layer onto my watercolor paper tag. Because I am decorating my tag the seam will not be visible once the tag is finished.
I then used white Gesso and gave my tag a light wash to dull the colors a bit and give it a vintage look. After that I used the twinkle stencil and added some texture here and there using modeling paste. After everything was dry I physically distressed the edges using a distressing tool as well as Distress Ink Brushed Corduroy. Finally I added white and gold sprinkles using white and gold acrylic paint. Now my tag base is done.
To create some embellishments I die cut the Connected Bubbles die as well as the leaves die from the Poppy Flower die from mixed media paper. I used different shimmer color sprays to color my die cuts (pink, blue and teal). To the Connected Bubbles die cut I also added some gold dots using a DecoColor oil based gold metallic marker.I stamped the large butterfly from the Butterflies stamp set onto a piece of the Floral Impressions papers with Versamark ink, heat embossed with white embossing powder and fussy cut the butterfly.
Other embellishments I used are some mulberry flowers, flower centers, a piece of lace, burlap string, cheese cloth and tulle ribbon.
I arranged everything on my tag and glued it down using heavy gel and super thick tacky glue. I used one of the smaller tags from the Bookmark and Tag die set for my sentiment which is included with the Flight of the Butterflies stamp set. To finish the vintage look of the tag I added more white Gesso to the flowers and leaves as well as gold and white acrylic paint sprinkles and distressed some more parts with Brushed Corduroy Distress ink.
Link list of Whimsy products used:
April 11, 2021
Floral Impressions
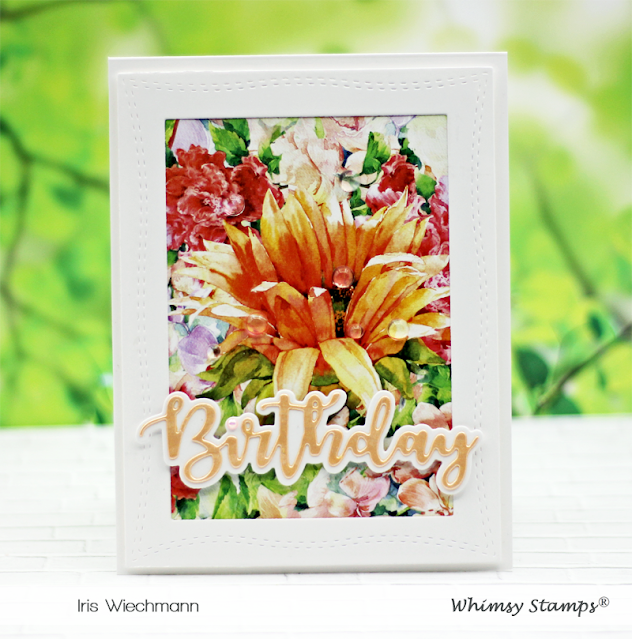
Here are two cards using the absolutely gorgeous NEW Floral Impressions paper pack from the most recent release.
I kept both cards simple to really let these beautiful papers take the spotlight. On the first card I only added a die cut frame and diet cut word instead of a sentiment. A few clear dew drops finish off this card. (all products I used are linked below).
The second card is even more CAS as the the first and I just added the large word die Happy and a simple stamped 'birthday' together with a few clear confetti sequins.
Whimsy Stamps products used:
April 10, 2021
Whimsy Stamps Mid April Release & New Product Reveal!
I am showcasing both of the brand new slimline embossing folders on my creations today. All Whimsy products I used are linked below.
Here is my first card using the following new products: NEW Mushroom Mushup, NEW Gnome Friends, NEW Slimline Thatched Embossing Folders.
I also used Slimline Wonky Windows 1 die as my card frame and some of the butterflies from the Flight of the Butterflies clear stamp set. I colored the images with Derwent Inktense Blocks & Derwent Coloursoft Pencils.
To create the background I used the NEW Slimline Thatched Embossing Folder with green cardstock and ran a gold pigment ink pad over it so only the raised part gets inked.
On my second card I used the NEW Slimline Wave Length embossing folder together with the NEW Slimline ZIG ZAG Edger dies.
Subscribe to:
Posts (Atom)

